Knowing the composite decking installation process helps Utah homeowners plan with fewer surprises. A successful project connects the design to the home’s doors, yard, terrain, drainage, and daily use before the first board is installed.
Request a free consultation with Dynamic Deck Pros
What Happens Before Composite Deck Construction Begins?
Before construction, the composite decking installation process includes a consultation, site evaluation, design decisions, and permit planning. The contractor reviews access, grade, drainage, landscaping, the home’s exterior, and applicable local requirements. The result is a project plan shaped around the property instead of a standard platform.
Start with how you expect to use the space. Seating, entertaining, stairs, cooking areas, traffic flow, views, and the relationship between the deck and the house all affect the footprint and elevation. They also influence railing placement, stair location, lighting, and the amount of space needed around doors.
Dynamic Deck Pros uses an on-site evaluation to review conditions that are easy to miss from a sketch. The visit may consider slopes, trees, retaining walls, utility locations, gates, existing hardscape, sunlight, drainage, and how materials can reach the work area. These details help the design respond to the actual site.
Six decisions to settle before day one
- Define the purpose. Explain how the household will use the deck and which features matter most.
- Review the property. Discuss grade, drainage, access, landscaping, views, and the home’s exterior.
- Choose the layout. Confirm the footprint, stairs, railing plan, colors, lighting, and transitions.
- Match the materials. Coordinate the board profile, fasteners, trim, and accessories with the selected product.
- Plan approvals. Identify permits, inspections, and requirements that apply to the project.
- Confirm the scope. Review the plan, timeline, quote, and homeowner decisions before construction.
How permits fit into the schedule
Permit requirements vary by location and project details. Deck height, placement, stairs, railings, structural design, property conditions, and other factors can affect the review. There is no universal permit checklist that applies to every Utah home.
Dynamic Deck Pros states that it manages permits and local code compliance as part of its deck services. The company is a licensed General Contractor, a licensed General Engineering Contractor, and fully insured. A contractor-managed approval process keeps the documents, construction sequence, and required inspections connected.
For more detail on this planning stage, review the custom deck design process.
How Do Footings and Framing Support a Composite Deck?
Footings and framing form the structural base beneath composite decking. The support plan must account for the deck’s size, elevation, layout, soil, drainage, connection to the home, and the selected product’s installation requirements. Attractive boards cannot correct an inadequate substructure.
Footings transfer the deck’s weight into the ground through posts and related supports. Their locations and design depend on the deck’s size, height, shape, stairs, elevation changes, and site conditions. Sloped terrain, soil, drainage, landscaping, and nearby structures can all influence the layout.
The footing plan must work with posts, beams, joists, stairs, and every elevation change. An attached deck may require a different approach from a freestanding deck. The approved design and applicable requirements should guide the work rather than a one-size-fits-all diagram.
Joists, ledgers, and flashing work as a system
Joists support the boards and must be laid out for the selected product, board direction, expected loads, and deck shape. Borders, diagonal patterns, curved features, stair openings, and picture-frame details may require additional framing or more careful support at seams.
When the deck meets the house, the ledger connection and flashing deserve careful attention. Water-management details help protect the connection without directing water into the building. The right method depends on the home’s construction and the project design.
Hardware, joist hangers, post connections, and other fasteners should be compatible with the framing materials and exposure. Product instructions may specify corrosion-resistant hardware or approved accessories. These requirements should be confirmed before the frame disappears beneath the boards.
Framing also establishes the finished height and the transitions around doors, stairs, and the yard. Small changes at this stage can affect drainage, headroom, stair geometry, and the location of railings. A careful review before decking begins gives the homeowner a chance to ask questions while adjustments are still practical.
For an elevated deck, the crew must also consider how people will move below and around the structure. Posts, beams, stairs, and skirting should work with existing paths, planting areas, and drainage patterns. The finished frame should feel stable and intentional, not like an obstacle added after the yard was designed.
Before surface work starts, look across the frame from several angles. Check that the planned board direction still works with the home’s doors and the main view from the yard. Confirm that stairs, posts, and railing locations leave comfortable paths. It is easier to discuss a concern while the structure is visible than after composite boards and trim cover the details.
Read the deck framing basics for additional background on this structural stage.
How the Composite Decking Installation Process Handles Board Details
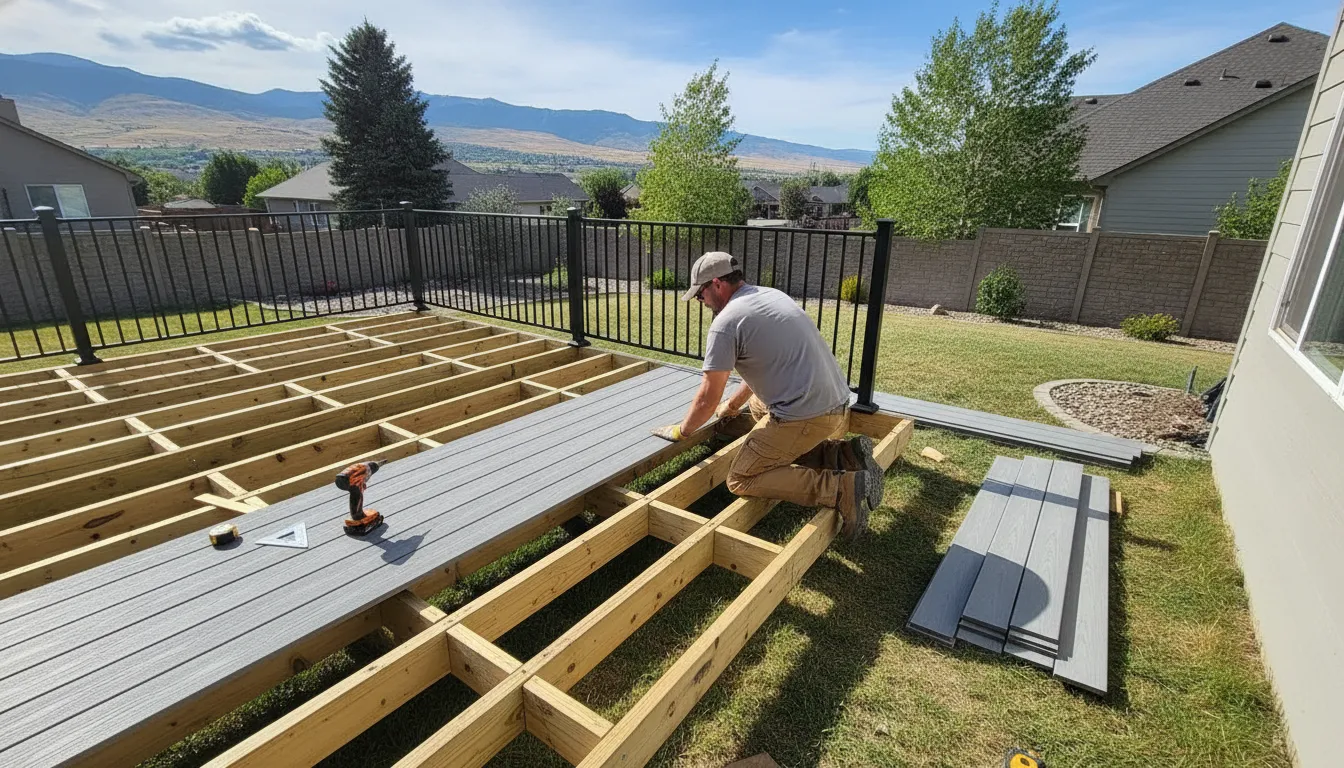
Composite boards are installed after the frame is ready, using a layout and fastening method suited to the selected product. Grooved boards often use compatible hidden fasteners, while square-edge or perimeter boards may use approved face screws. Gaps, seams, end cuts, and fascia details must follow the manufacturer’s instructions.
| Board detail | Typical consideration | Why it matters |
|---|---|---|
| Grooved edge | Compatible hidden fastener | Keeps the fastening system out of sight when installed correctly. |
| Square edge | Approved face screw | Secures perimeter and transition boards where a groove is unavailable. |
| Board gap | Product-specific spacing | Allows drainage and normal movement as temperatures change. |
| Board end | Supported seam and clean cut | Helps maintain a consistent pattern and finished appearance. |
Before cutting, the crew reviews the product profile, color variation, grain direction, available lengths, stairs, posts, corners, and the deck’s most visible edges. Seams should land on supported framing, and the layout should work around transitions instead of leaving awkward or unsupported ends.
Hidden fasteners versus face screws
Many grooved composite boards use compatible hidden fasteners. Starter clips establish the first board, and additional clips secure the grooved edges while keeping the fastening system out of sight. Each clip must be seated as directed.
Square-edge and perimeter boards commonly require face screws. Screw type, placement, pilot holes, and color-matching options vary by product. The board profile, framing material, location, and manufacturer’s instructions determine the correct method.
Gaps allow drainage and leave room for normal expansion and contraction as temperatures change. Required spacing is not universal. It may depend on the product, board length, temperature, and installation detail, so the exact product guide should control.
Board color and grain can also affect the visual rhythm of the finished surface. If the selected product has variation between boards, the layout can distribute that variation instead of placing similar tones in one area. A little planning at the cutting table can make borders, seams, and stair noses look more consistent.
For a broader look at material and project choices, visit the Utah composite decking guide.
Talk with Dynamic Deck Pros about your deck plan
How Are Railings, Stairs, and Finishing Details Completed?
Finishing work includes railings, stairs, fascia, selected lighting, cleanup, and a final walkthrough. These details should be coordinated with deck height, traffic patterns, views, drainage, the home’s exterior, and applicable requirements so the finished space fits the property.
Railings and stairs affect how people move through the space every day. Railing placement begins with the deck’s height, edges, views, traffic patterns, and local requirements. Posts, infill, and the top rail should look intentional beside the siding, trim, windows, and exterior finishes.
Stairs should create a natural route between the deck and yard. Their location needs to account for grade changes, doors, planting beds, drainage, and gathering areas. Treads and risers should follow a consistent layout, with handrail planning where appropriate.
Coordinate the last details
Fascia creates a finished edge at the perimeter, stair openings, and transitions. It should work with drainage and the product’s installation instructions. Lighting can be included when selected for the project, with fixtures positioned according to the plan.
At completion, the crew addresses construction debris, reviews visible transitions, and walks through the finished work with the homeowner. Ask about the railing and stair layout, drainage, trim, lighting, and care expectations during that handoff.
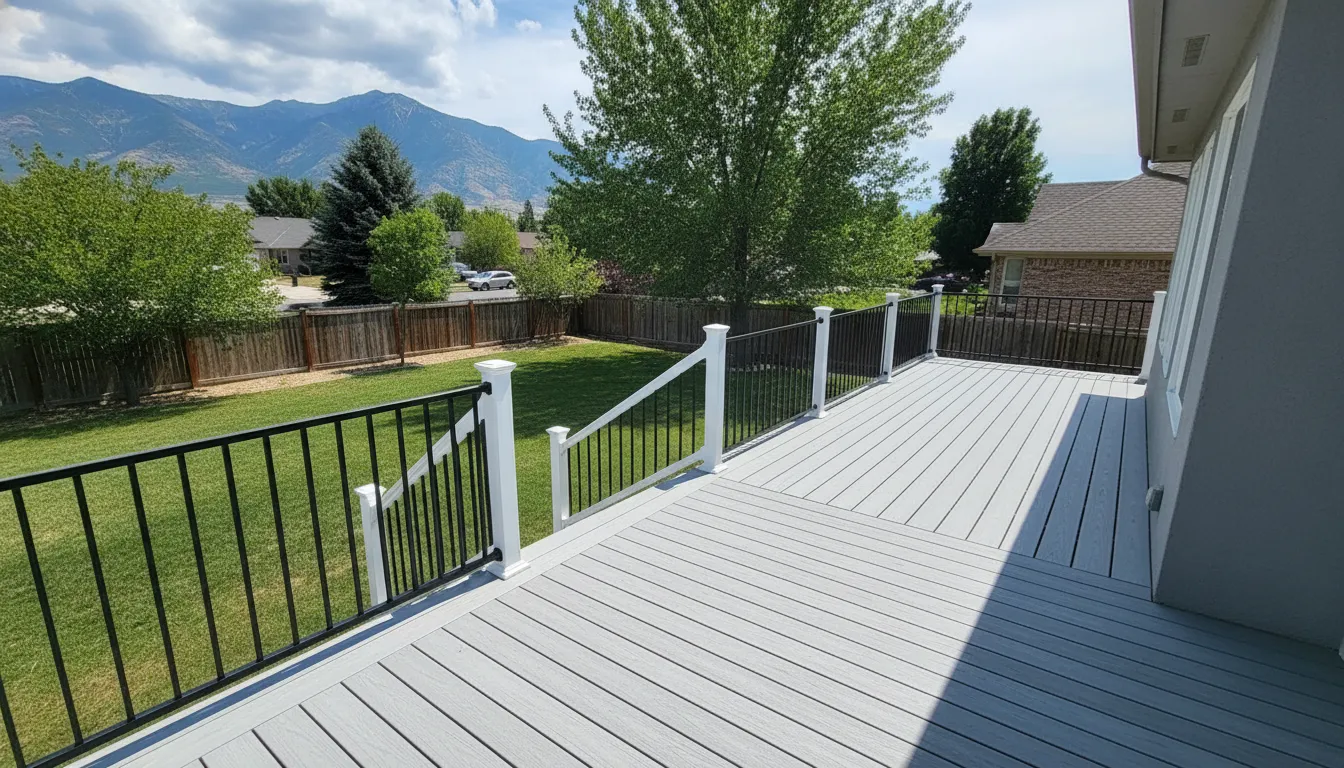
Explore custom railing services when planning the deck’s edges and circulation.
How Long Does Composite Deck Installation Take in Utah?
Dynamic Deck Pros typically allows one to three weeks for deck design, while installation may take a few days to a few weeks. The schedule depends on size, design, permits, site access, material availability, stairs, railings, weather, inspections, and homeowner decisions.
Design and construction should be treated as separate phases. During design, the team evaluates the property, discusses how the space will be used, and coordinates the layout, composite material, colors, stairs, railings, and finishing details.
A straightforward deck with easy access may move differently from a large, elevated, or highly customized project. Demolition, landscaping protection, tight gates, steep grades, complex transitions, material lead times, and late design changes can affect the sequence.
Weather is only one part of the schedule. Inspections, delivery windows, design approvals, and access to the property can also determine when the next stage begins. Ask for the major milestones in writing, including the expected start of site work, framing, surface installation, railing work, and final walkthrough.
Homeowners can help by making selections on time, keeping access routes clear, protecting pets and children from the work area, and raising questions before a material is ordered. Those simple steps do not eliminate every delay, but they reduce avoidable changes once construction is underway.
Ask which milestones depend on an inspection or delivery before the crew arrives. That conversation helps separate work that can proceed from work that must wait. It also gives you a clearer way to understand an updated schedule if a permit review, product backorder, or weather event changes the original sequence.
- Permitting and inspections: Approvals and inspections depend on the project and jurisdiction.
- Material availability: Board profiles, colors, fasteners, railings, and accessories may need to be ordered.
- Site access: Gates, slopes, landscaping, and handling limits can change the work sequence.
- Homeowner selections: Late changes can affect plans, materials, and construction steps.
- Weather: Outdoor work can be affected by colder or wetter conditions.
A project-specific timeline is more useful than a blanket promise. Clear selections and timely feedback help keep the composite decking installation process organized.
What Happens After Composite Deck Installation?
After installation, the project moves through cleanup, a final review, and homeowner handoff. Care should follow the exact composite product manufacturer’s instructions. Keep warranty terms, exclusions, maintenance requirements, and claim procedures with the project documents.
A final walkthrough should cover the finished surface, stairs, railings, fascia, connections, selected lighting, and the condition of the work area. Ask about unfamiliar trim, drainage details, gates, or lighting components before the crew leaves.
Composite products can differ in approved cleaners, stain or paint guidance, fastener requirements, and responses to spills or surface marks. Follow the instructions for the exact product installed instead of applying advice intended for wood or another composite line.
Routine care generally starts with keeping leaves, dirt, and other buildup off the surface. Periodic cleaning should follow the manufacturer’s recommendations for tools, water pressure, and cleaning solutions. Avoid experimenting with harsh chemicals or aggressive equipment.
Talk with Dynamic Deck Pros about your Utah deck project
Frequently Asked Questions About Composite Deck Installation
What should composite decking be laid on?
Composite boards should be installed over a properly designed and supported frame. The framing must be sound and laid out for the selected board and fastener system. A site evaluation determines whether an existing structure can support the planned deck.
Do you nail or screw composite decking?
Many grooved boards use compatible hidden fasteners, while square-edge and perimeter details may use approved face screws. The correct method depends on the product, board profile, framing material, and location.
Does composite decking need a gap between boards?
Yes. Gaps support drainage and allow for movement as temperatures change. Required spacing varies by product, board location, temperature, and installation detail. Follow the manufacturer’s instructions.
Can composite decking go over an existing wood deck?
Sometimes, but not simply by covering old boards. The existing structure should be checked for movement, moisture damage, footing concerns, and framing suitability. If the substructure is inadequate, rebuilding or reinforcing may be safer.
How long does composite decking installation take?
Timing depends on size, design complexity, permits, site conditions, material availability, weather, and finishing details. Dynamic Deck Pros typically allows one to three weeks for design and a few days to a few weeks for installation.